How to make Thanksgiving Turkey Art
If you’re doing an American unit for your Homeschool World History, a good way to introduce the American Thanksgiving is to make an art project of a turkey.
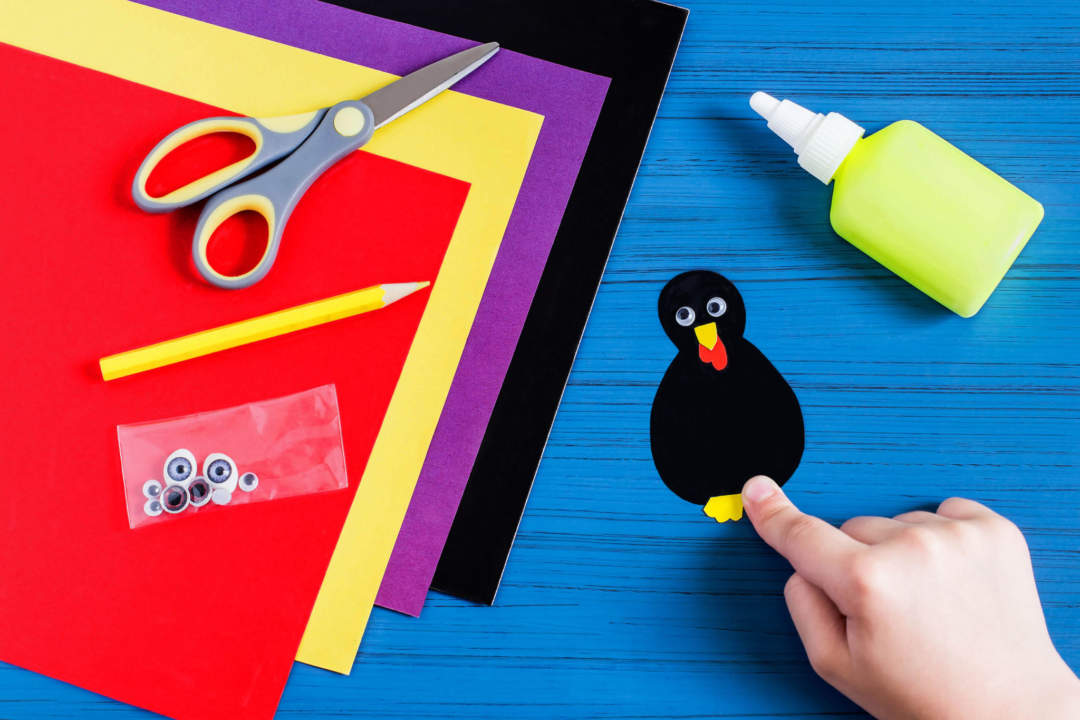
Check the step by step photos below!
You will need:
- Different art papers with different colors
- Pencil
- Scissors
- White cardboard
- Googly eyes (optional) (you can just cut out the eyes if you dont have googly eyes)


That’s all folks! You can now hang these on the wall for your Thanksgiving “celebration”!
Checkout other Homeschool Art Project Idea:
Homeschool Art Project: How to make a paper boat
Homeschool Art Project: CD Fish Art