Alright moms and dads, gather round because I’ve got the scoop on how to make onigiri at home for a fraction of the price!
As any parent knows, taking the kids to the mall can often turn into a battle of wills thanks to longing stares at the food court. Been there, done that, right? But those pre-made onigiri packs sure do come at a cost. Fear not, for April from Relax Lang Mom.com is here with an easy DIY onigiri recipe that’ll save you big bucks!
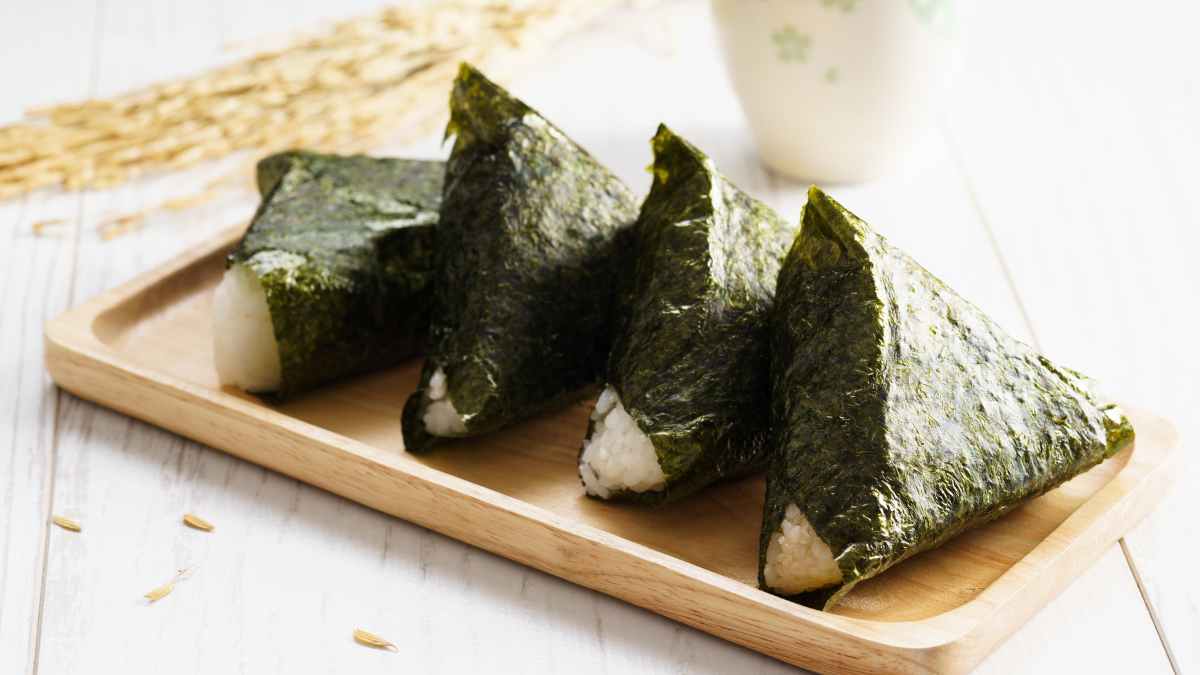
How to make Onigiri -A Non Recipe
Now gather your rice and nori and let’s get cooking! The first step is prepping your rice. I like to use short-grain white rice for onigiri since it holds its shape nicely. Rinse the rice well under running water until the water runs clear. This removes excess starch so the rice isn’t gummy. Next, add the rinsed rice to a rice cooker along with the proper amount of water. As any Asian knows, it’s always 1:1. 1 cup of rice =1 cup of water. Turn it on and let the rice cook – talk about easy, am I right?
While the rice is cooking, you can prep your fillings. I always go for the classic tuna-mayo but feel free to get creative. My son loves anything with luncheon meat in it. Just mix your protein of choice with some mayo or seasoned rice vinegar for moisture. You can also mix in shredded carrot or nori flakes for color and nutrients. Furikake rice seasoning would also add some more Japanese feels and umami to the Onigiri. The choices are endless!
Once the rice is done, let it cook for at least another 10 minutes before opening the rice cooker. Then remove it from the rice cooker and transfer to a large bowl. While it’s still warm, carefully add your sushi rice mixture and mix it with a wooden spatula. I wouldn’t dump everything all at once. Add half of the rice mixture first. Mix and taste test before adding the rest then find the exact taste that you want.
Here is the recipe I used:
Sushi Rice Mixture
- 4 tbsp rice wine vinegar
- 3 tbsp sugar
- 2 tsp salt
- 2 tsp mirin –https://invl.io/clkkf09
Begin shaping your onigiri. Get your hands a bit wet so the rice won’t stick. Measure about 1/4 cup of rice, form an indent in the center, and pack the filling inside. Pinch and mold the rice around the filling to fully enclose it. If you’re not up for that, you can totally use an onigiri mold to get you going. Look, they’re so cutee!

You can also wrap the onigiri in a small strip of nori to contain the filling if needed. And just like that, you’ve got homemade onigiri at a fraction of the cost of store-bought!

Not only will you save your pesoses by making onigiri at home, but you’ll also avoid those meltdowns in the food court. Kids will love picking their own fillings and feeling involved in the process. Plus, you can rest easy knowing exactly what’s going into their tummies. I hope these simple steps help fuel your adventures at the mall sans battles over food. Let me know if you have any other onigiri questions!
PS,
How to Preserve Leftover Nori?
It so happened that I bought the 10 pcs nori and it was too much for 2 cups of rice. I remebere that the ones before has turned soggy. So here’s what to do in case you get left overs too. Store crispy nori treats in an airtight container with silica gel packs. Their moisture-wicking magic will keep the nori crispy. Put it on the refrigerator to help retain the flavor. Once ready to use, place individual nori sheets in a dry frying pan over low heat. Gently toast each side for 30 seconds, flipping once. Keep a close eye so the nori doesn’t burn – you just want to dry it out slightly and give it some snap. Once toasted on both sides, the nori should have a light, crispy texture again. Remove from the pan promptly before it gets too crispy.
Don’t forget to sign up for my Relax Lang Mom newsletter below for more budget-saving kids meals and activities. Just input your email for bi-weekly tips, tricks, and projects to keep your little ones happy and your wallet fat.
Peace out and enjoy your homemade onigiri!