Dear sweet moms and parents,
Today I’m sharing a beloved Filipino dessert staple that has captured the hearts and palates of island folk for generations – pichi pichi. In Manila, we’d be ordering Don Benito’s Pichi Pichi just because were suddenly missing it. But Nanay just sent me a sack of cassava and it’s kakanin time!
What is Pichi Pichi
The true pichi-pichi has its roots firmly planted in cassava’s starchy goodness. A staple crop throughout Southeast Asia, cassava provides affordable sustenance as well sustaining flavor. Its mild, subtly sweet starch is the perfect blank canvas for building layered textures in this beloved merienda.
It sounds like Mochi but Pichi Pichi is a chewy cassava cake hailing from my nearby province of Quezon. This name is fitting because the cassava used in making this dessert is grated and squeezed tightly to extract excess moisture, resulting in a firm yet chewy texture.
How To Make Pichi Pichi
Making pichi pichi begins with grating freshly harvested cassava. To start, select cassava tubers that are firm when peeled. Scrub well under running water to remove any dirt. In the province, they would normally frown at you if you wash the cassava but I do it anyway. Using a knife remove the bark. Grate the cassava and squeeze all the juices which makes the pichi pichi bitter if left alone. The grated cassava is then combined with lye, sugar and water to form a sticky mixture. Pandan leaves are often added for flavor and fragrance.
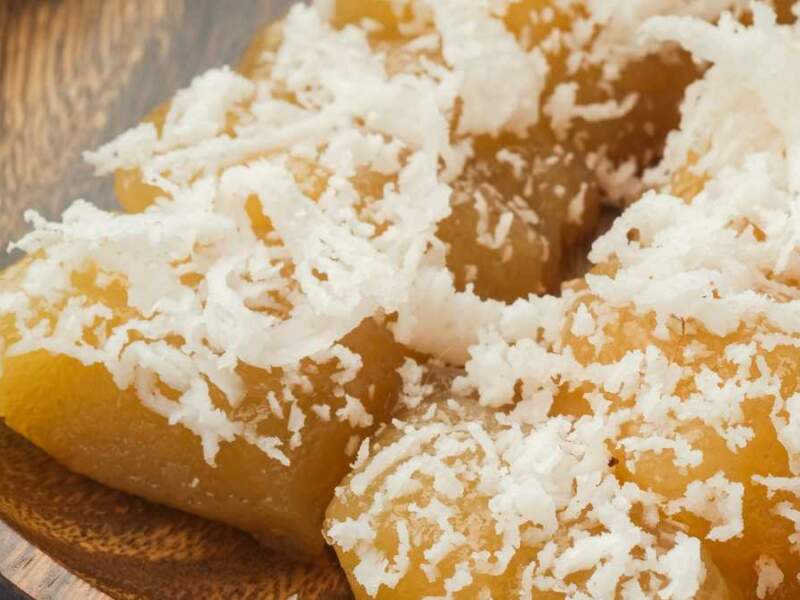
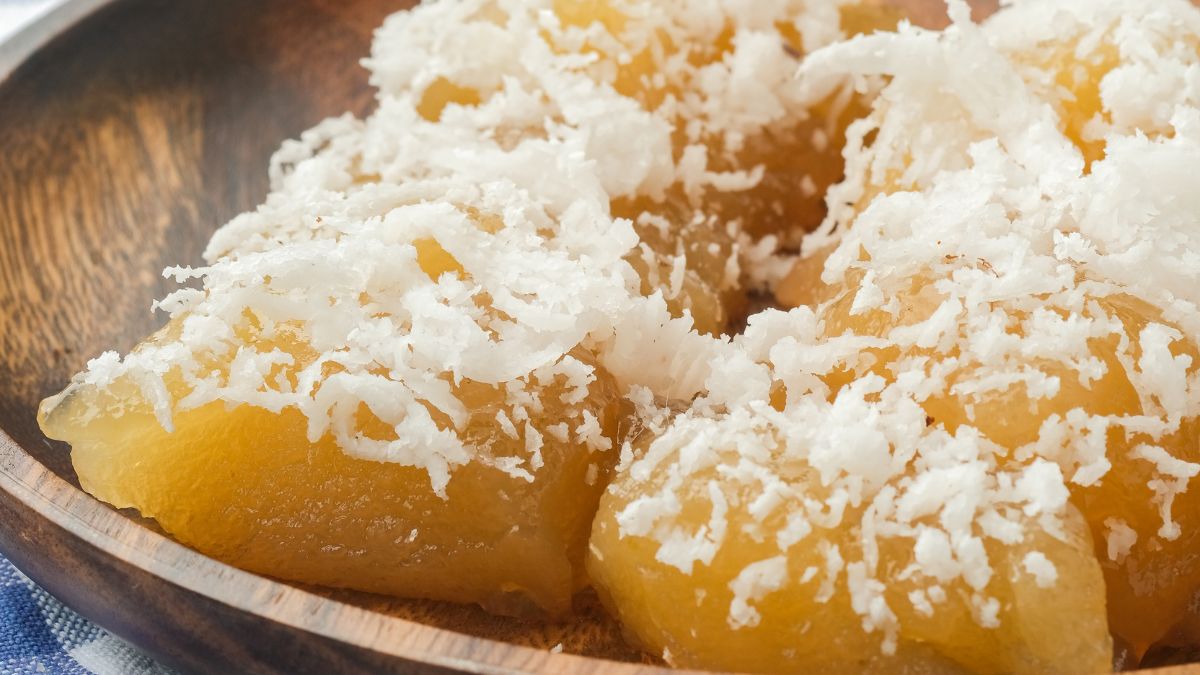
The cassava mixture is transferred to steamer baskets and cooked over boiling water until solidified and translucent. Once cool enough to handle, the pichi pichi cakes are rolled in freshly grated coconut for a contrasting sweet crunch.
Pichi pichi comes in various vibrant colors and flavors, from traditional white cassava to pandan-infused green and even brightly-hued festive versions. But regardless of hue, the chewy texture and sweet coconut topping create utter delight with every bite.
Planning ahead? You can freeze Pichi Pichi before steaming!
- Pour the unsteamed pichi pichi mixture into freezer safe containers, leaving about 1 inch of headspace. You can use reusable plastic containers or freezer bags.
- Freeze the pichi pichi for at least 4 hours or overnight, until completely frozen. This will help prevent freezer burn.
- Once frozen solid, you can remove the containers from the freezer and stack them to save space. Just make sure to label them with the name and date.
- When you’re ready to enjoy the frozen pichi pichi, simply steam one or more containers following the recipe directions. No need to thaw the mixture first.
How To Make Pichi Pichi With Cheese
Recently, I’ve seen a few variations on Pichi Pichi making (as well as in Puto Kutsinta). That is, adding cheese toppings instead of rolling it in grated young coconut. The kids love this better than coconut so if you have kids who are not partial to coconut, this is also a great option.
Other tips for making Pichi pichi
Make sure the cassava is freshly grated. Older grated cassava can cause the pichi pichi to become tough and gluey.
• Combine the cassava and sugar thoroughly before adding the lye water. This helps the lye water distribute evenly.
• Add the lye water slowly while stirring continuously. Too much at once can cause lumps to form.
• Cover the steamer cover with a cotton cloth or “lampin” then secure the cloth on top. This is to avoid the steam water from falling into your Pichi Pichi.
• Use low to medium heat when steaming. High heat can cause the outside to cook faster than the inside.
• Check the pichi pichi periodically while steaming. Sometimes molds with taller sides take a bit longer to cook through.
• The color changing to translucent is a good indicator of doneness, but still test for consistency. The pichi pichi should be firm but still have some give when pressed.
• Allow the pichi pichi to cool completely before unmolding. If unmolding when still warm, the cassava starch can cause it to stick to the molds.
• Roll the pichi pichi in the coconut as soon as possible after unmolding for best texture. The coconut coating works best on still-warm pichi pichi.
• Serve the same day for best flavor, or store leftovers in the refrigerator for up to 3 days. The texture will soften the longer it’s refrigerated.
• Freeze any extra pichi pichi, following the freezing directions I provided. This helps preserve the texture and flavor.
The pichi pichi I enjoyed as a child evokes the smell of pandan, coconuts, and laughter -the simple treasures of island life woven into its sweetness. I hope sharing this beloved Filipino treat transports you, even if just for a moment, to sunnier days.
To get my authentic pichi pichi recipe emailed to you along with toddler activities, simply sign up for my newsletter below!
Enjoy!
April
relaxlangmom.com

Ingredients
- 4 cups grated cassava
- 2 cups sugar
- 4 cups water
- 2 cups grated coconut
- 1 teaspoon lye water
- 1 teaspoon buko pandan essence
Instructions
- In a large mixing bowl, combine the cassava, sugar and water. Mix thoroughly with a wooden spoon or spatula.
- Add the lye water while stirring continuously to avoid lumps forming.
- Mix in the buko pandan essence. This will infuse the pichi pichi with a subtle coconut and pandan flavor.
- Pour the mixture evenly into greased cupcake molds or a greased 9x13 inch baking pan.
- Steam the molds over a pot of simmering water for 45 minutes to 1 hour, or until the color turns translucent.
- Remove the molds from the steamer and allow to cool completely at room temperature or in the refrigerator before unmolding, about 40 minutes to 1 hour.
- Once cool, run a butter knife around the edges and turn the molded pichi pichi out onto a plate. Roll each piece in the grated coconut.


