Enjoy the Best of Tropical Seasons with This Easy Pineapple Guava Jelly Recipe
Kamusta friends! It’s April from relaxlangmom.com coming at you with a sweet seasonal spread to celebrate the summer harvest. As the summer fruits flood grocery stores and farmer’s markets, I’m sharing my favorite way to capture the flavor of a homemade pineapple guava jelly recipe. There’s something special about homemade jam jelly – the freshness, the vibrant flavors, and the satisfaction of knowing exactly what goes into it. By making your own pineapple guava jelly recipe, you can control the ingredients and customize the flavor to suit your preferences. Plus, it’s a rewarding and enjoyable culinary experience!
This homemade pineapple and guava jelly is delicious and not just for your morning toast or PB&J sandwich. The bright, tropical flavors of this pineapple guava preserves pair beautifully with creamy brie, crackers, and a bottle of wine, making it a classy appetizer or romantic picnic treat. If you have some experience with canning, it’s easy to turn your bountiful summer crop into attractive jars of jam for holiday gifts.

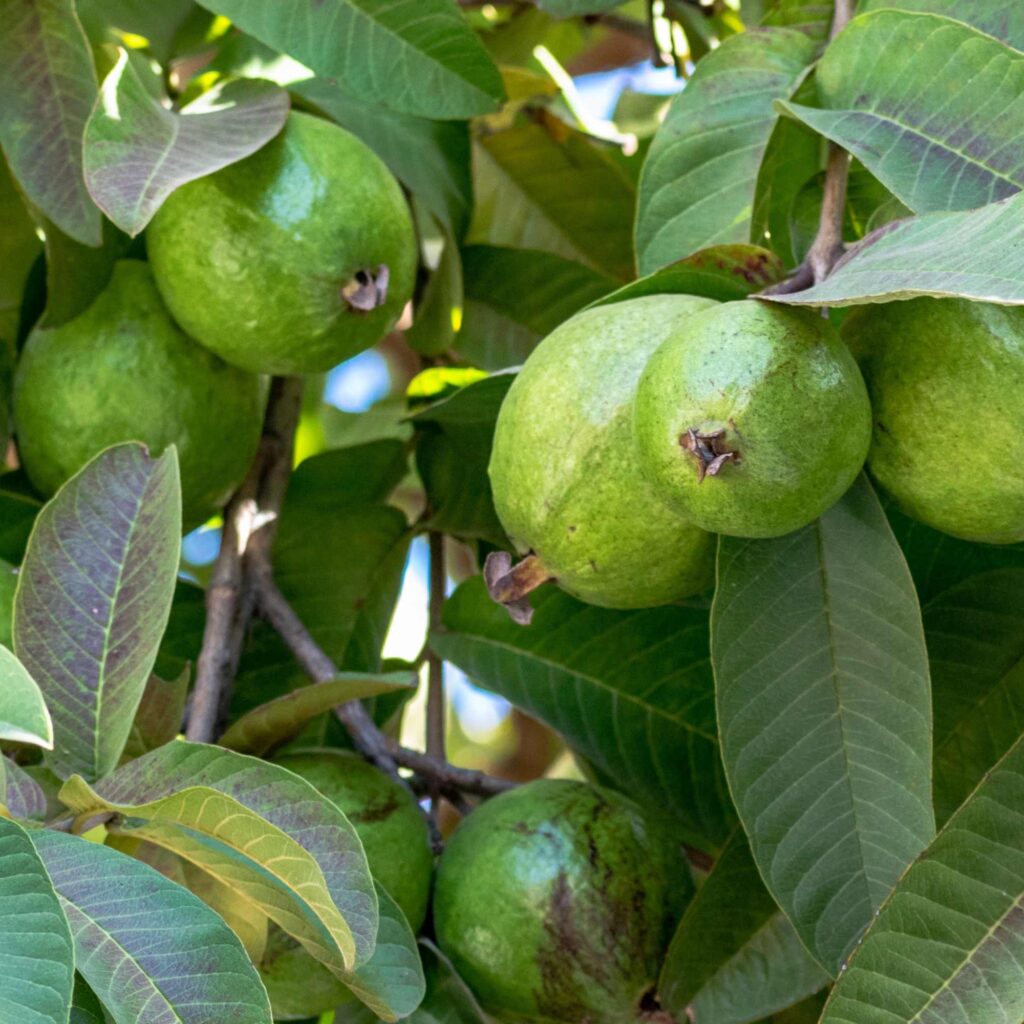
You may be familiar with pineapples and their sunny glow. As a quintessential symbol of the tropics, pineapples add a tangy zing to any dish. But their not so famous tropical cousins, guavas, are often referred to as “nature’s candy” for their aromatically sweet taste akin to strawberries. We have a couple of guava trees in the backyard and they have a very fragrant, floral aroma that is similar to the scent of a ripe pear. The flesh of a fully ripe guava is soft and jammy, with a slight gritty texture from the small edible seeds, which gives it a unique mouthfeel compared to other fruits.
When blended together with pineapples in a pineapple guava preserves, these sunny superfoods explode in your mouth like a tropical beach.
Jam vs Jelly. What’s the difference?
Good thing you asked!
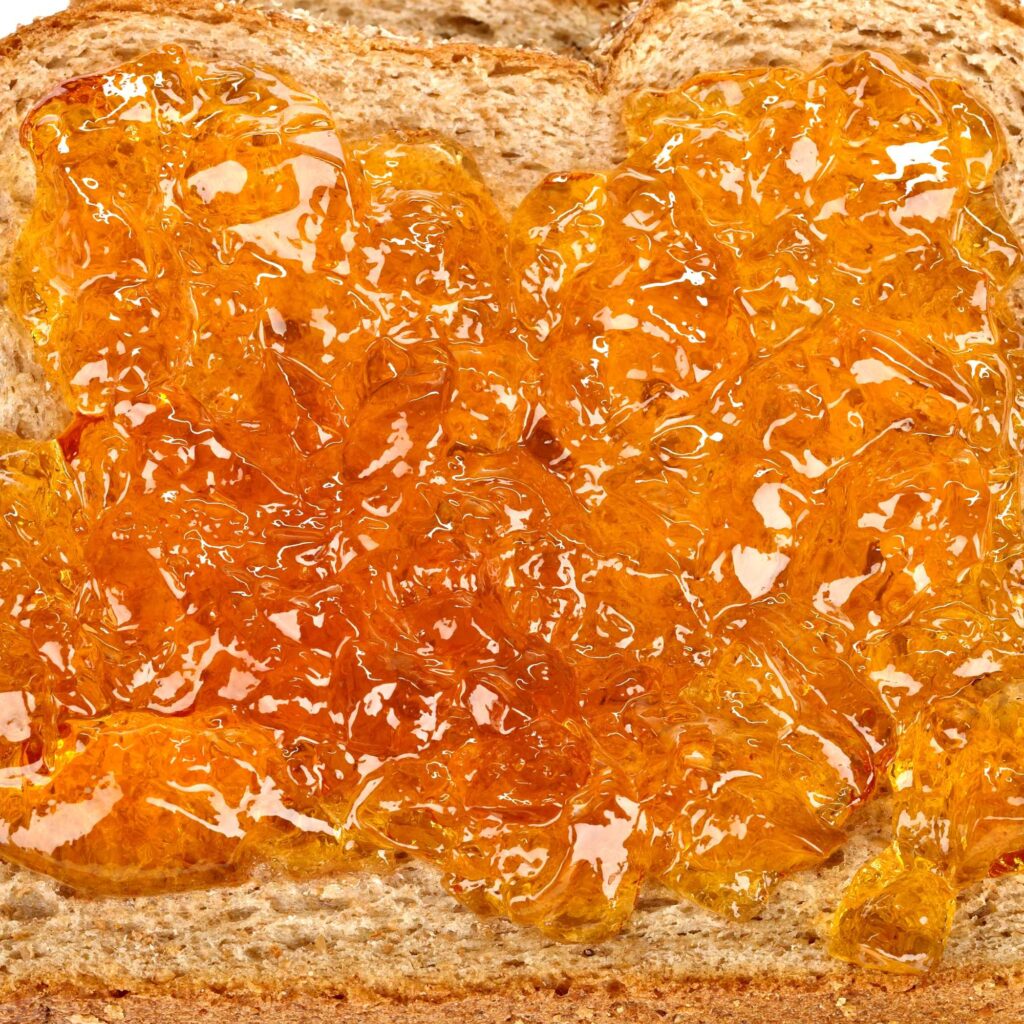
Now, let’s talk about the differences between jam and jelly – because these two fruit preserves aren’t exactly the same thing, even though they’re both sweet and delicious! Pineapple guava jam recipe is made by cooking up crushed or chopped fruit with sugar. This gives it a thicker, more spreadable texture, with little yummy fruit bits suspended throughout. Pineapple guava jelly recipe, on the other hand, is all about that clear, smooth, gel-like consistency.
To make jelly, the fruit juice gets extracted first, then cooked up with sugar and a gelling agent. The end result has way less actual fruit – usually only around 30-45% fruit juice, compared to the 45-65% fruit content in jam. So while both jam and jelly let you savor seasonal flavors, the chunkier, more fruit-forward taste of jam versus the crystal clear look and texture of jelly means you’ll want to choose whichever one suits your personal preferences and how you plan to enjoy it. Either way, you really can’t go wrong!

Pineapple Guava Jelly Recipe
To make this pineapple guava jelly recipe, you’ll need:
- 3 cups diced pineapple
- 2 cups guava pulp (fresh or frozen)
- 1⁄4 cup calamansi or lemon juice
- 3⁄4 cup sugar
- 1 box pectin (available in Lazada or Shopee)
- 5 drops edible yellow food color (optional)
Before we get started, it’s important to note that guavas are a relatively low-acid fruit, like figs. This means that you MUST add an acid such as lemon juice or citric acid powder to make them safe for home canning. Fig jam recipes typically call for 1/4 cup to 1/2 cup of lemon juice to 4 cups of figs. Don’t use juice from Meyer lemons, which are sweeter than regular lemons (Meyer lemons are actually a cross between a regular lemon and a Mandarin orange).
In a large pot, combine the pineapple, guava, lemon juice and 1 1⁄2 cups water. Bring to a boil, then reduce heat and simmer 10 minutes until softened. Remove from heat and blend everything together using blender or an immersion blender until smooth.
Pour the puree through a cheesecloth-lined strainer into a liquid measuring cup. You should have about 4 cups total liquid. Return this to the pot and stir in the sugar. Bring to a boil, then stir in the pectin mixture according to package directions.
Bring it to a rolling boil then boil for 1 minute, skimming off any foam. To check if the jam has reached the desired consistency, perform the spoon test. Place a small amount of jam on a chilled plate and let it cool for a few seconds. If it sets and wrinkles when pushed with your finger, it’s ready.
*A note on the pectin -while this is not absolutely required, this is the ingredient that makes the jam into a jelly like spreadable consistency. You can achieve the same without pectin by cooking slowly on low heat and mixing it continuously until you achieve the consistency you like.
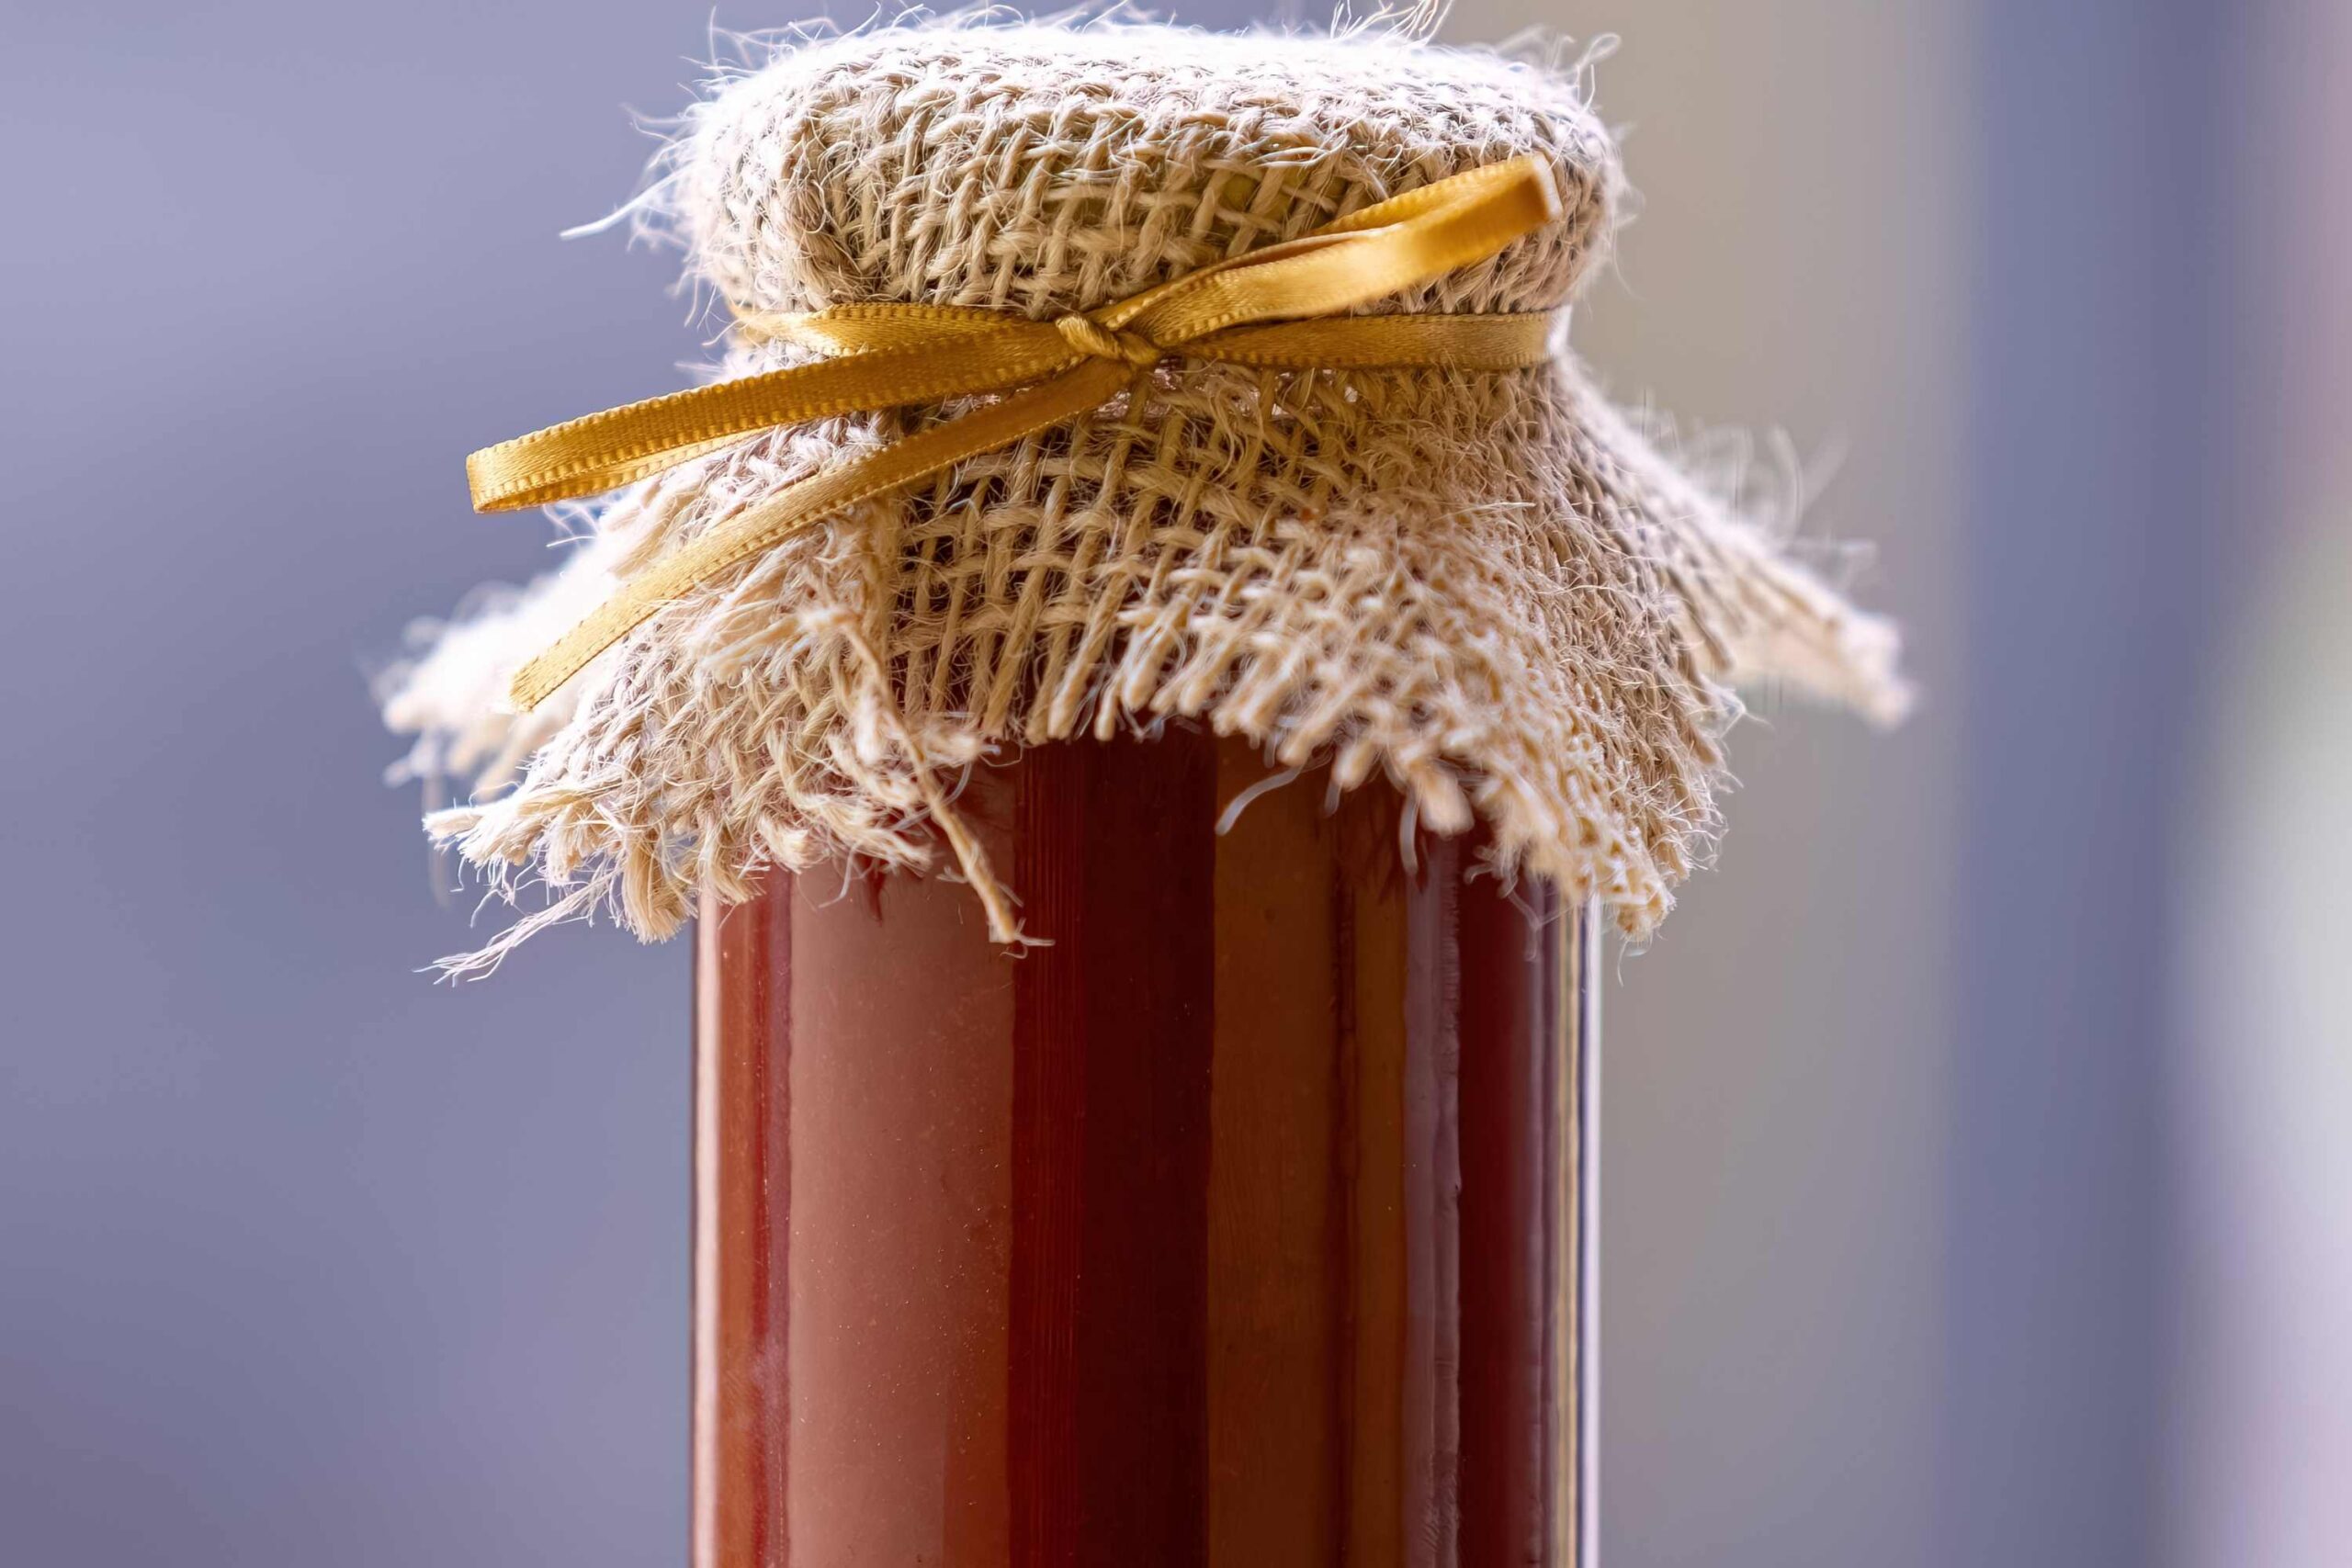
Funnel the hot jelly into clean disinfected jars, leaving 1⁄4 inch headspace. Seal jars and process in a water bath canner for 10 minutes. Allow to cool undisturbed for 24 hours before storing.
*New to canning? Safety first! Check out trusted resources like the USDA’s guide to home canning or The Ball Book of Canning and Preserving to learn proper techniques. You can also find water bath canning instructions on the Ball website [freshpreserving.com].
I hope you’ll give this jelly recipe a taste. The bright, tropical flavors will have you dreaming of leisurely island days. Let me know how it turns out for you in the comments below!
Be sure to sign up for my newsletters using the form below for more seasonal recipes and homestead happenings straight to your inbox. Mabuhay!
-April

